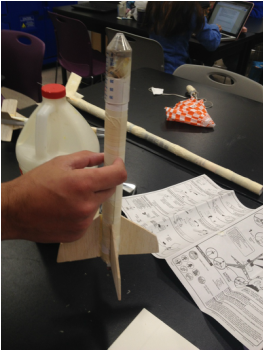
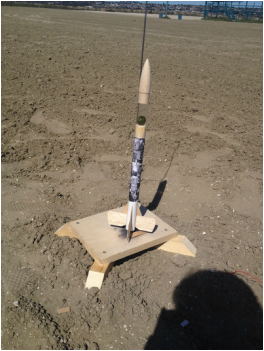
 This project here was by far one of the coolest things that I have yet to do in this class. My partner Chase and I, have been building rockets since the first section of chemistry and it was really awesome to see all of that time pay off. For this rocket, we had to build it completely out of scratch (except for the motor). Using all of the skills we learned from making model rockets and air compressed rockets, we decided it was about time we crafted our own chemical rocket. Making this thing was great because all of the specifications were up to us. Due to the success of the previous rockets we deiced to stay with a sleeker/ light design and it sure payed off. This video to the right is footage from the launch. Reflection Looking back, the experiment was a complete success. The only thing that I wanted to improve was the parachute system. It never fully expanded as it should have. Chase and I really work well together and are able to operate smoothly without too much controversy. I put in a lot of effort to keep us on a good track to finish by the end of the section. We cut it pretty close, but we managed to get it done. The next steps are to make another rocket but this time instead of using a C motor, we will make our own rocket fuel. It is really exiting stuff and I am definitely looking forward to it. | 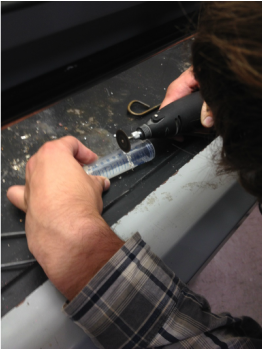 Components -Balsa wood fins -Card stock body -Plastic beaker as nosecone -Craft paper cylinder to hold engine - Trash bag parachute -Rubber band launch lug -C motor -Lots of tape -Wood glue -Clay counter weight |
|
0 Comments
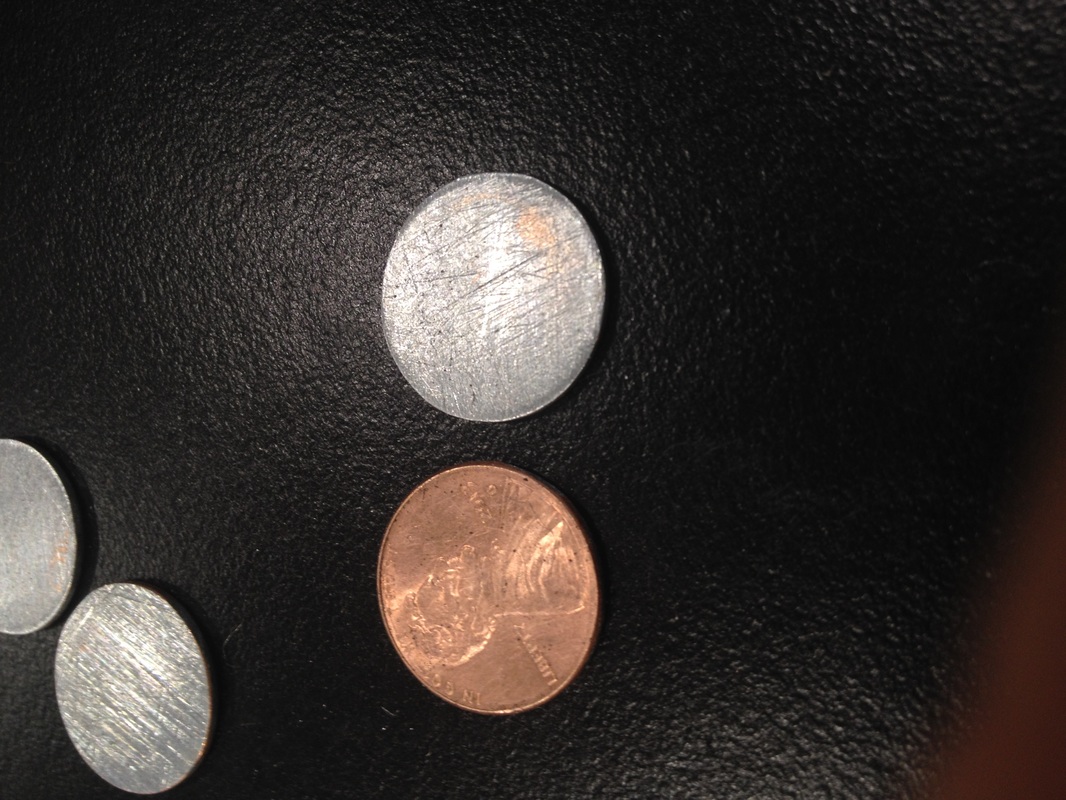
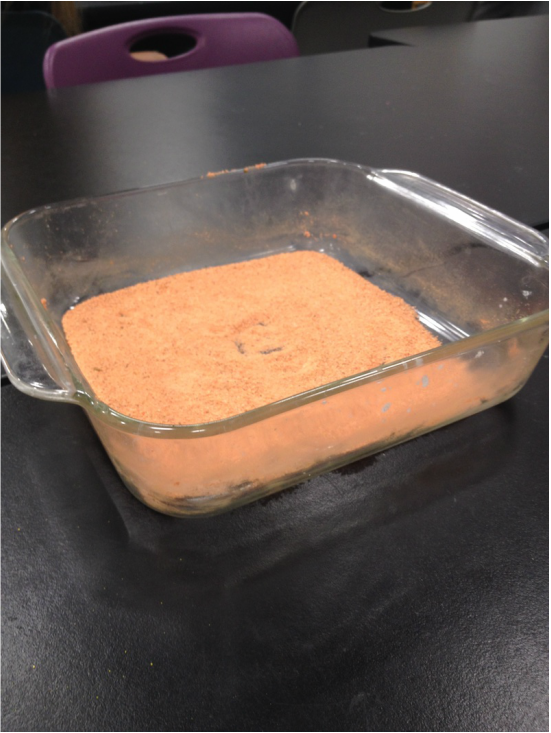 For this lab, we experimented with sand and a hydrophobic spray. We started out with a tray filled with sand and our goal was to coat the sand in the hydrophobic substance therefore leaving it unable to bond with the water. On a molecular level, when atoms (the smallest particle in a substance that retains the substance's properties) like sodium and chlorine bond, they transfer their valence electrons. Sodium has one valence electron and chlorine has 7. To complete the octet law, the atoms want have a full outer shell of 8 electrons, therefore salt and chlorine bond in a 1 to 1 ratio. This is a covalent compound. The other type of compound is an ionic compound. This is a chemical compound in which the ions are held together. During this experiment, we also looked at the difference between hydophillic and hydrophobic. Hydrophobic means that the molecules will not mix with the water and hydrophillic means that the molecules have a tendency to dissolve and mix with water.
To preform the experiment, we used a silicate spray and coated the sand several times in it. We had to mix it around a lot, to make sure that all of the sand had been sprayed. Then we were given the freedom to play around with water and see how the sand reacted. When we dropped the sand into the water it looked almost encased in bubbles. We pulled the sand back out of the water and it was completely dry! I really didn't expect it to work so well. Reflection Looking back this experiment ran smoothly and gave us good results. Our group functioned smoothly. The silicate spray kept the sand and water from forming a bond. Our experiment gave us desirable results and the cleanup wasn't too difficult. I helped mix the sand in when applying the spray to ensure that all of the sand was coated. My group members functioned smoothly allowing us to get our work done quickly. I think that our experiment gave us all the results we needed and it would be difficult to take it farther. If I were to take it farther I would use the same group as a had the first time. The main takeaway for this lab for me was learning about how atoms bond and the different ratios they bond in.
Creating and launching the Ron Paul Revolution was a great time. To build our rocket, my partner Chase and I were given a model kit to build off of. It came in many pieces and our task was to put it together without screwing up. The wind was insanely strong on the day of the launch, therefore causing our rocket to drift into the ocean after the parachute had been deployed. Unfortunately, we couldn't retrieve our rocket but we still had a great time setting it off. There is a video of the launch below. Our rocket worked exactly how it was supposed to. The C engine was quite strong and gave our rocket a lot of burn time. Creating the model rocket was a cool experience because I plan on creating a hand built rocket for part 2 and I will definitely be looking to apply these skills I learned to my new rocket. The model rocket helped me for future rocket builds because while building it, I was able to see what components I would need to have when making my new one from scratch. The only downside to following the manual on the model is the small room for creativity on the rocket. In Rocket build 2.2 I plan on researching and making adjustments to the height and width of the rocket and pursuing more creative freedom. With this said, the 2.1 rocket did have some gnarly Ron Paul pictures on it. Materials List -Thin cardboard tubing for body - Wooden nose cone -Thin wooden fins - Wood glue -Parachute - C engine -Plastic capsule - Cardboard engine holder In this lab, we studied how to read the periodic table and decipher the characteristics of the element. I was able to see what elements would combine together and how much of each element we would need based on the electrons in the outer shell. Each atom wants to follow the octet rule which is having 8 electrons in its outer shell. Sometimes, to follow the rule, the atoms need to combine with other elements so that their shell can be completed. Such as (MG) and (N). Magnesium has 2 valence electrons and Nitrogen contains 5. In order for the amount of total electrons to be a multiple of 8, we need to use the elements in a 3/2 ratio. 3 parts of (MG) equals 6 and 2 parts of (N) equals 16 total valence electrons which is a multiple of 8. Together, we get Magnesium Nitrate.
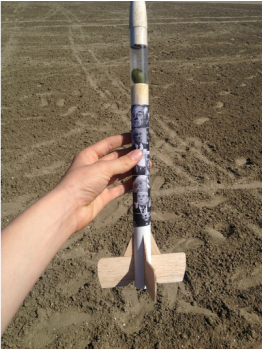
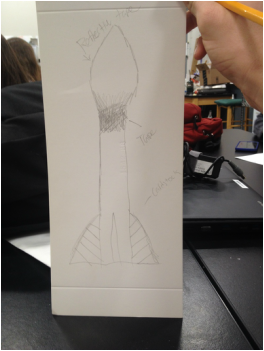
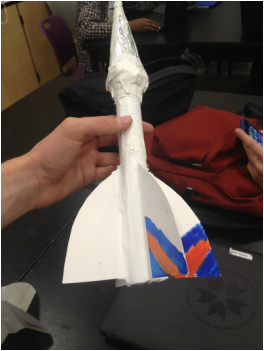
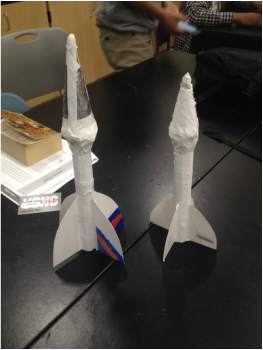
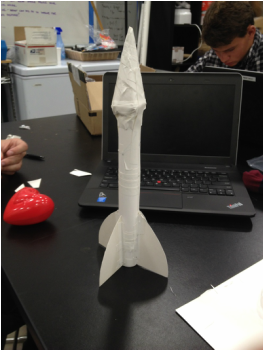
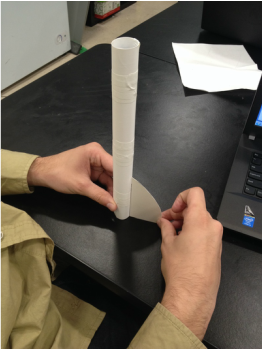
For this rocket, my partner Chase and I, wanted to make it longer and more colorful. We wanted to make it longer to give the rocket more time on the launch pad to generate more force on the rocket. Our last rocket went far but we predicted that it would travel farther if we had a longer body. Unfortunately with our new rocket, the nose cone flew off because it wasn't secure enough. Later we re-secured it but it was a good reminder to always secure it more than you think it needs. 3 of the rockets we launched that day had their nose cones blown off. Materials -Cardstock -Reflective Tape -Masking Tape -Color Markers The rocket on the left is our new design and the one on the far right is our old one. The design is below.
During this lab, we studied atoms. They are the smallest piece of a substance that still retains the properties of that element. Within the atom, there are sub particles called neutrons, protons, and electrons. To identify how many of each sub particles are in an atom of an element, we looked at the "Rosetta Stone" of chemistry, the periodic table. Learning to read the periodic table was important because it allowed us to directly identify if an element is a solid/metal/gas, how many neutrons, electrons, and protons are it,and its atomic mass. In the rows of the table you can identify the energy levels and in the columns we can identify how many electrons are in that energy level.
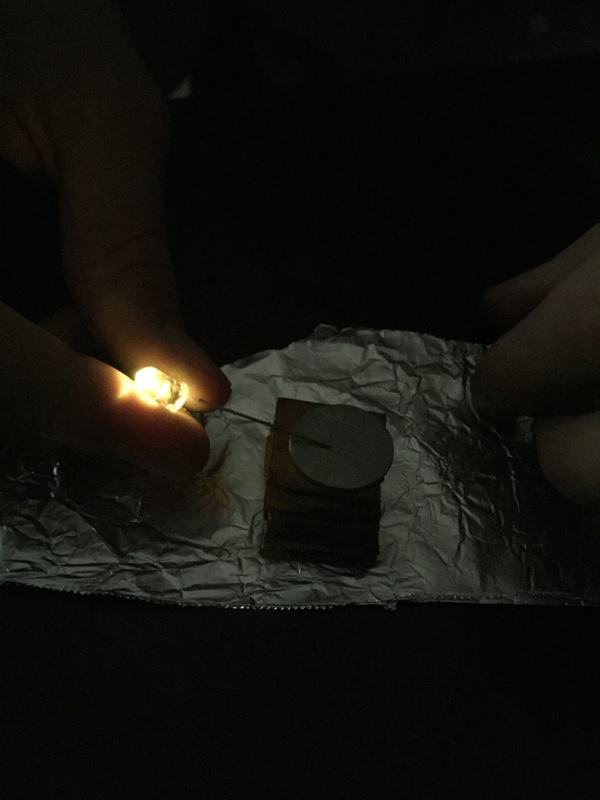
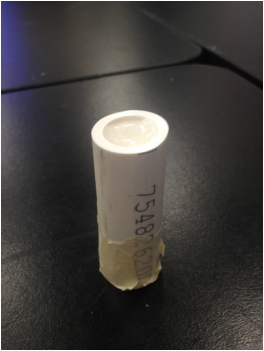
This is my first draft of a compressed air rocket. My partner Chase and I worked on it together. It was great that we did this project in the 2nd section of chemistry because we were able to have many more resources of people who had already done it to guide us if we needed the help. We looked up some examples online of what these rockets should look like for maximum efficiency. We used card-stock for the body and fins and then used electrical tape to hold it all together. We then went outside and tested our rocket with the compressed air rocket launcher. We tested with 80 PSI and 100 PSI. Critique D'Isaac -Add more color or designs to the rocket to make it look better Mario -Paint it because it looks kind of bland. Just put some color on there. Carlos - Separate the fins more evenly so that the rocket flies straight up. The fins shouldn't be all crooked. With this info, my partner Chase and I, will be looking to make a more stylish, efficient rocket. We will be thinking about painting and designing of the rocket. Watch our launch videos!
|
AuthorWeWrite something about yourself. No need to be fancy, just an overview. Archives
May 2015
Categories |

 RSS Feed
